

[vc_row][vc_column][vc_column_text]
This blog post will help you easily install Active Directory from scratch and run it on SSL with a self-signed certificate.
When you are working on user provisioning projects or PoCs, in many instances you will find that you need to integrate your product with Active Directory. In a production environment, the Active Directory infrastructure is already setup. But in some cases, you need to install Active Directory from scratch or make an existing Active Directory run on SSL certificate in a lab or testing environment.
Here is a summary of what we’ll cover in this tutorial:
- Installation of Active Directory (ADDS feature)
- Installation of DNS server
- Configuration of Active Directory
- Installation of Certificate Authority
- Configuration of Certificate Authority
- Restart Server
Environment:
- Windows Server 2019
Requirements:
A single windows machine (the steps shown here are for Windows Server 2019, however the same process should work on earlier versions as well)
Active Directory Installation
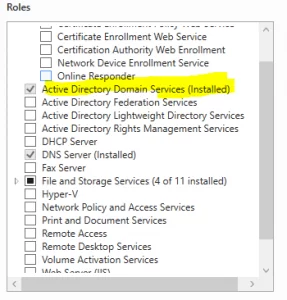
To install Active Directory on Windows you do not need to download anything, you just need to use Windows Add Feature and Select “Active Directory Domain Services.”
Click Windows Startup Prompt and Open Server Manager.
Click on Add Roles and Features (Click “Next” until you reach following screen. Please note that screenshots are taken after the services/feature is already installed, so there may be little change when you are doing it for the first time on your installation)
DNS Server Installation
Go to Server Manager –> Add Features and click Next (with default selection) until you reach following screen:

Select DNS Server and Click Next until installation is complete.
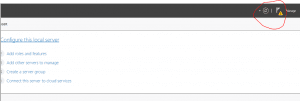
Configuration of Active Directory
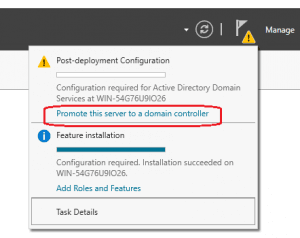
Once installation is complete, Click on Flag (Alert)
Click on “Promote this server to a domain controller”
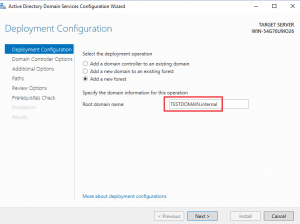
Enter the root domain name
Select Default Settings and Enter the password:
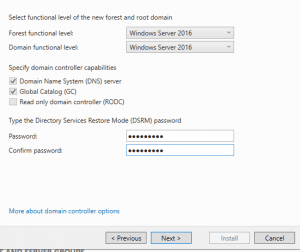
Next
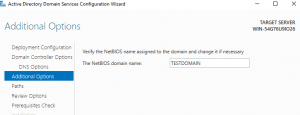
Next (unless you want to change the NetBIOS Name)
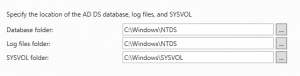
Default:
Default
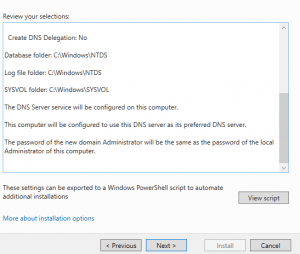
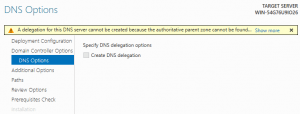
Next: Default
Next: Install
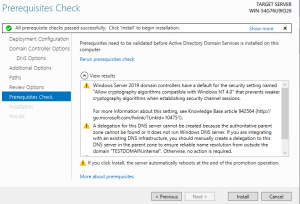
Please wait for the installation of Active Directory. Currently AD installs on non-ssl port (389). You can test connectivity here on this port.
Installation of Certificate Authority
Go to Server Manager, Add Windows Feature and click next until you reach following screen:

Select: Active Directory Certificate Services
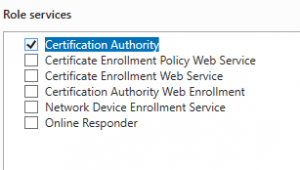
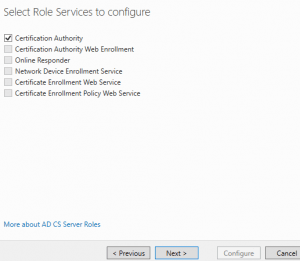
Select Certification Authority
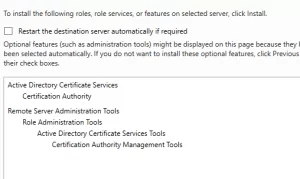
Click Next, Next, until the feature installation begins.
Configuration of Certificate Authority
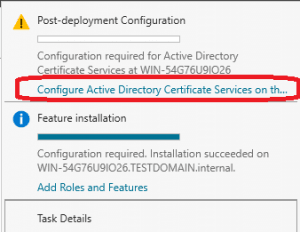
On the Server Manager Screen, you will see a Flag on the right hand side corner (like below)
Click on the Flag, then select “Configure Active Directory Service…” as shown below
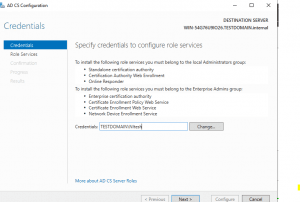
Enter the Credentials of the user performing this operation (should be administrator)
Next
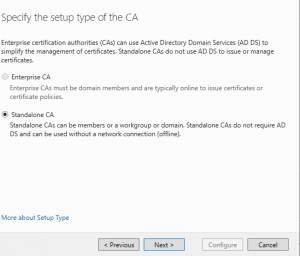
Next (Make sure Standalone CA is selected)
Default
Next
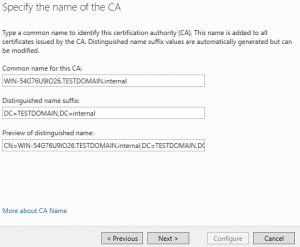
Please make sure you are entering CN as full computer Name.
Next
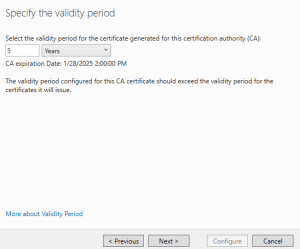
Next
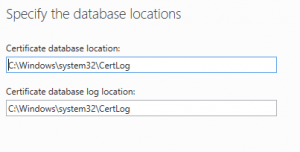
Next
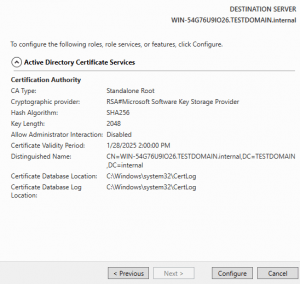
Now your configuration is complete.
Restart Server
Restart the machine for changes to take effect
Testing
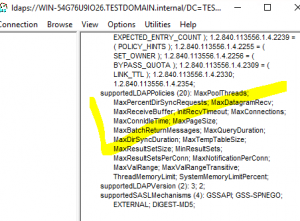
You can use any tool to test whether AD is running on SSL or not but here we are using Windows utility. (LDP)
Open Run prompt and Type “ldp”
You will see a window like this.
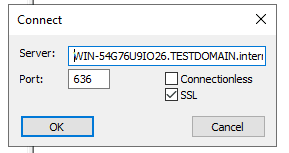
Enter Host Name: Please make sure you are entering a full computer name, otherwise it will not connect due to host name verification failure.
Port: 636
SSL: Checked.
You will see output similar to below (unless it is not connecting, in which case you will see an error message)
 [/vc_column_text][/vc_column][/vc_row]