
This post will walk through the installation process for Oracle Identity Manager/Oracle Identity Governance 12c (12.2.1.3.0), and its supporting infrastructure, in a *nix environment. This post will NOT cover installation via the Oracle Quick Installer. We’ll be installing and configuring FMW Infrastructure, SOA, and OIM using their separate installers.
I will also point out some caveats with the current 12c installation and configuration processes, as well as some helpful environment shortcuts that I always like to include in order to make life a little easier when navigating our hosts.
This post assumes a database is already installed and running, and that a certified JDK is installed as required.
This example installation will have all products installed a single, portable, host, so make sure to substitute your actual hostnames where we have specified “localhost”.
Also, make sure to set up your file system structure beforehand with the proper permissions (Here is how Oracle recommends the file system to be structured)
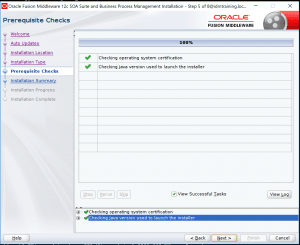
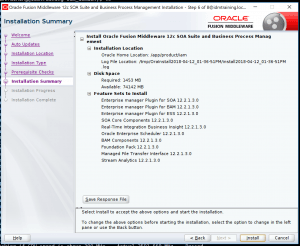
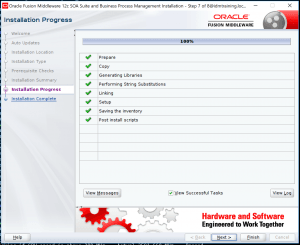
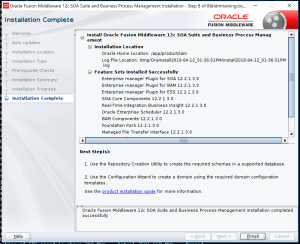
First thing we’ll need to do is install the binaries for FMW infrastructure, SOA, and IDM.
Make sure the installers are run with the proper JDK. Use the full path to launch the Jars.
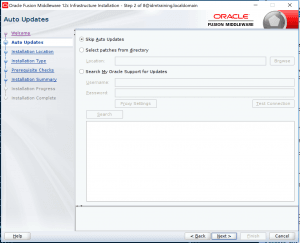
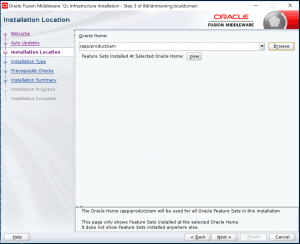
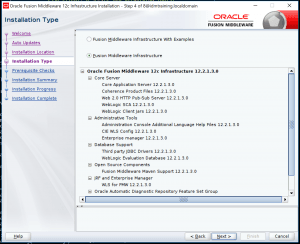
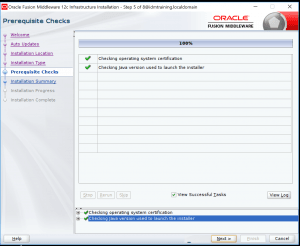
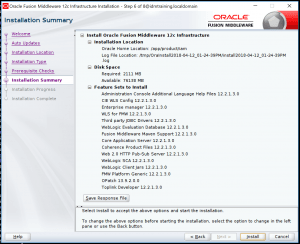
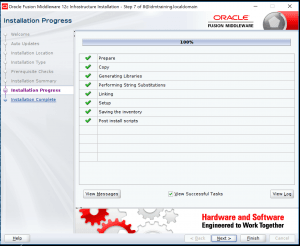
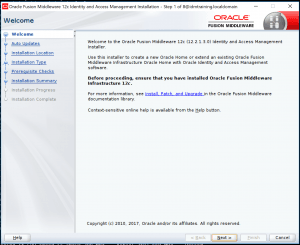
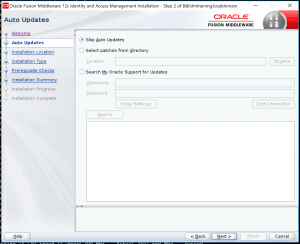
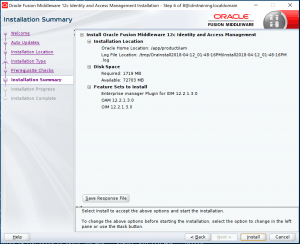
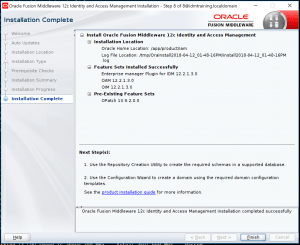
1. Install FMW Binaries
/app/product/jdk/bin/java -jar fmw_12.2.1.3.0_infrastructure.jar

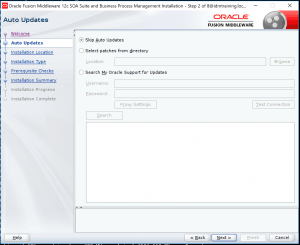
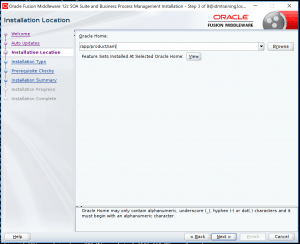
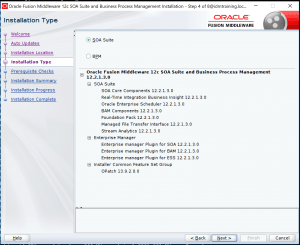
2. Install SOA Binaries
/app/product/jdk/bin/java -jar fmw_12.2.1.3.0_soa.jar
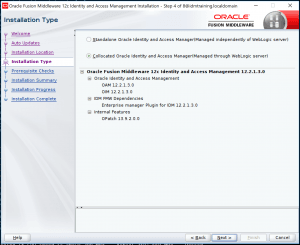
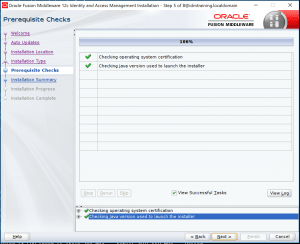
3. Install OIM Binaries
/app/product/jdk/bin/java -jar fmw_12.2.1.3.0_idm.jar


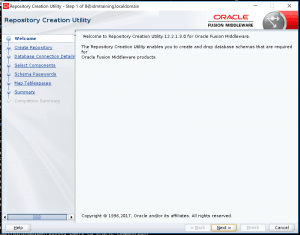
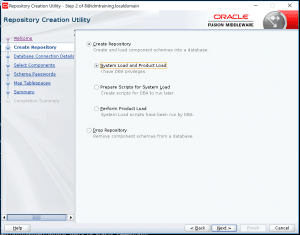
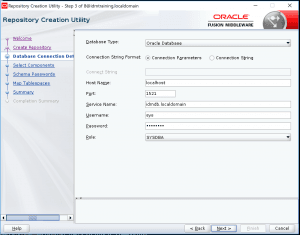
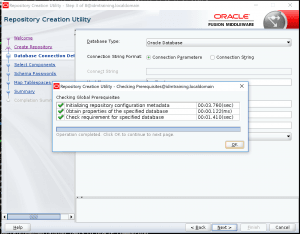
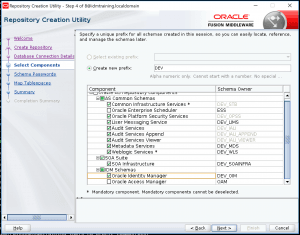
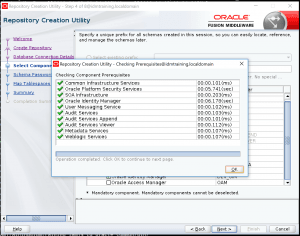
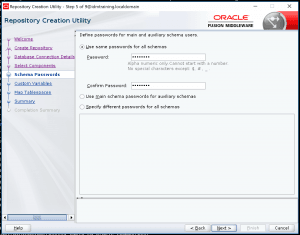
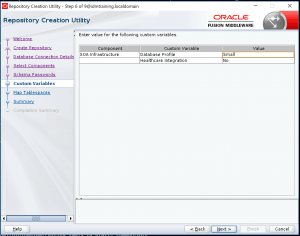
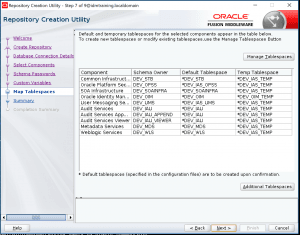
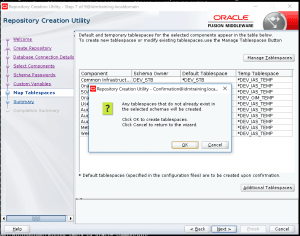
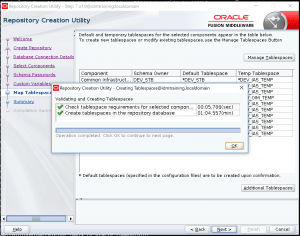
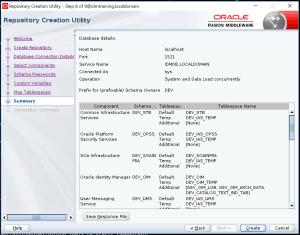
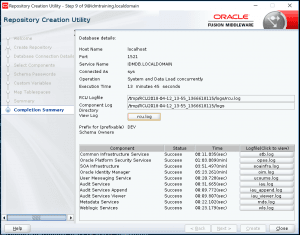
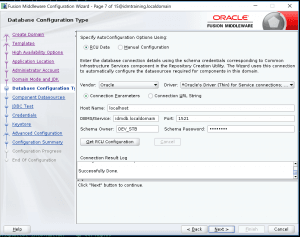
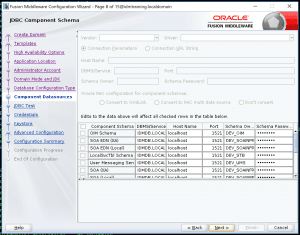
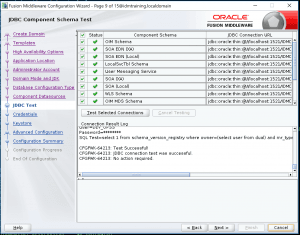
4. Once the products are installed, run the RCU to create the database schemas
/app/product/iam/oracle_common/bin/rcu
Note: If you get errors during the RCU process about the number of cursors or xaview, run sqlplus as sys as sysdba and execute the following commands, respectfully, as relevant:
sqlplus> alter system set open_cursors=800 scope=spfile;
sqlplus> @/app/product/db/12.1.0/dbhome_1/rdbms/admin/xaview.sql
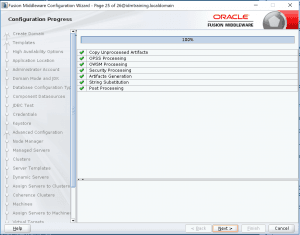
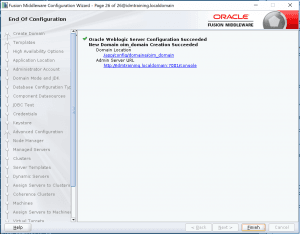
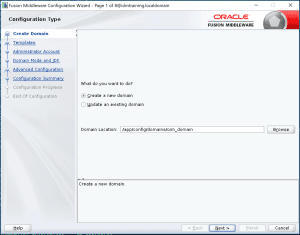
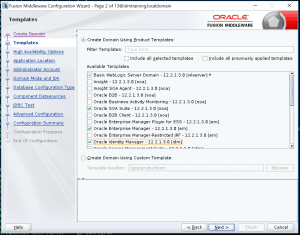
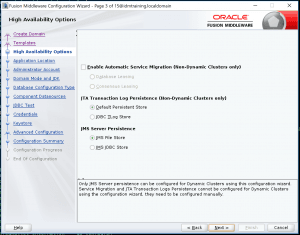
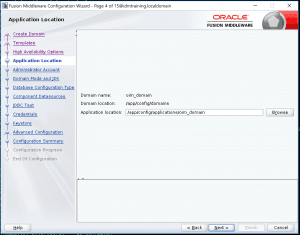
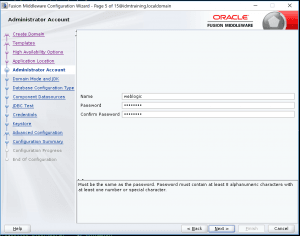
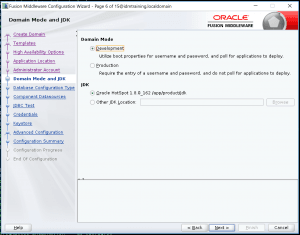
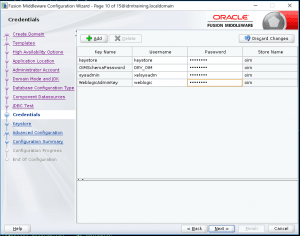
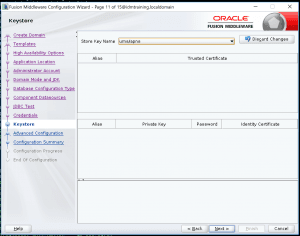
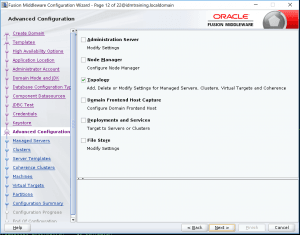
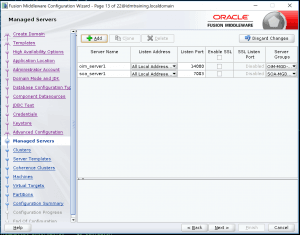
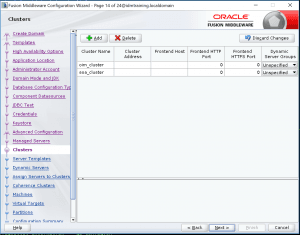
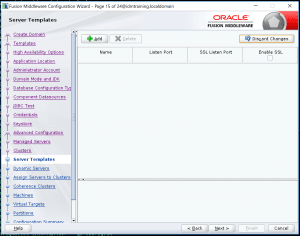
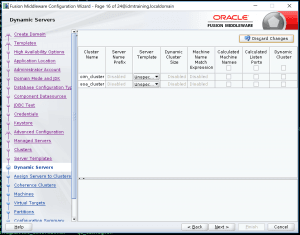
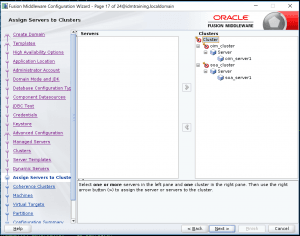
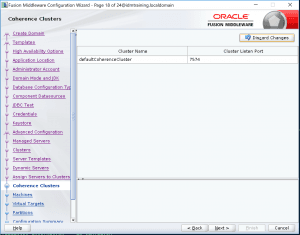
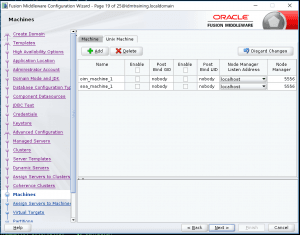
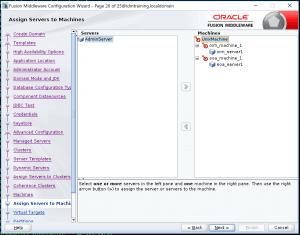
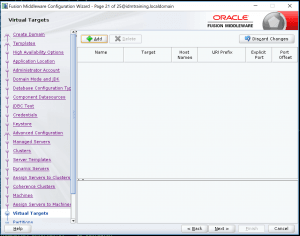
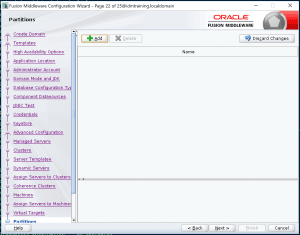
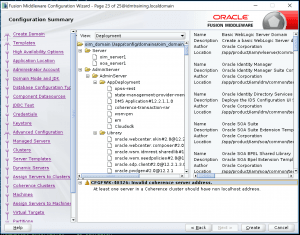
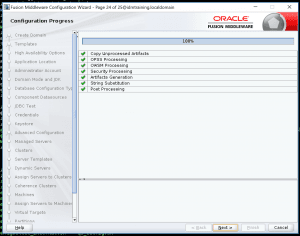
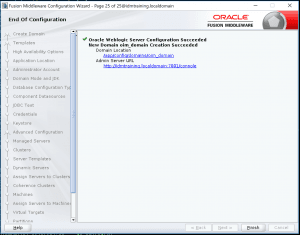
5. Configure The WebLogic Domain
You’ll notice in the screenshots below that we do not include OAM in the domain configuration. This is because configuring OIM and OAM in the same domain will cause issues. If you want to install OAM, you’ll need to go through the steps below a second time and create a new domain path for the OAM domain.
/app/product/iam/oracle_common/common/bin/config.sh
Post Installation
Now that everything is installed, and the domain is configured, we need to update our environment variables to make sure JAVA_HOME and DOMAIN_HOME are pointing to our installations.
JAVA_HOME=/app/product/jdk
export JAVA_HOME
DOMAIN_HOME=/app/config/domains/oim_domain
export DOMAIN_HOME
Next we need to run the offlineConfigManager
/app/product/iam/idm/server/bin/offlineConfigManager.sh
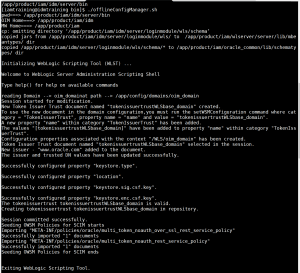
Watch the output of the command and make sure there are no errors.
1. Set Aliases
At this point, the products are installed and the domain and OIM is configured and ready to be started. But before starting up the stack, I like to set my shortcuts/aliases to make things easier in the future. Below is an example of aliases I like to set in my .bash_profile. They provide shortcuts for navigating the directory structure, starting and stopping the Admin server and Node Manager, and quickly viewing logs in real time.
# Oracle Navigation aliases
alias godb='cd /app/product/db/12.1.0/dbhome_1 && echo "-- ORACLE DATABASE HOME --"'
export godb
alias gomwh='cd /app/product/iam && echo "-- ORACLE MIDDLEWARE HOME --"'
export gomwh
alias godh='cd $DOMAIN_HOME && echo "-- ORACLE OIM DOMAIN HOME --"'
export godh
alias gooim='cd $DOMAIN_HOME/servers/oim_server1 && echo "-- OIM SERVER HOME --"'
export gooim
alias gosoa='cd $DOMAIN_HOME/servers/soa_server1 && echo "-- SOA SERVER HOME --"'
export gosoa
alias goadmin='cd $DOMAIN_HOME/servers/AdminServer && echo "-- WL ADMIN SERVER HOME --"'
export goadmin

# Oracle startup shortcuts
alias startnm='nohup $DOMAIN_HOME/bin/startNodeManager.sh > $DOMAIN_HOME/nodemanager/nodemanager.log &'
export startnm
alias stopnm='nohup $DOMAIN_HOME/bin/stopNodeManager.sh >> $DOMAIN_HOME/nodemanager/nodemanager.log &'
export stopnm
alias startadmin='nohup $DOMAIN_HOME/bin/startWebLogic.sh > $DOMAIN_HOME/servers/AdminServer/admin.log &'
export startadmin
alias stopadmin='nohup $DOMAIN_HOME/bin/stopWebLogic.sh >> $DOMAIN_HOME/servers/AdminServer/admin.log &'
export stopadmin

# Oracle log shortcuts
alias nmlog='tail -f $DOMAIN_HOME/nodemanager/nodemanager.log'
export nmlog
alias adminlog='tail -f $DOMAIN_HOME/servers/AdminServer/admin.log'
export adminlog
alias soalog='tail -f $DOMAIN_HOME/servers/soa_server1/logs/soa_server1.out'
export soalog
alias oimlog='tail -f $DOMAIN_HOME/servers/oim_server1/logs/oim_server1.out'
export oimlog
Whenever updating your .bash_profile, execute the following command in order to apply the changes to your current login session
. ~/.bash_profile
2. Start Node Manager and WebLogic Admin server
Now that everything is installed and ready to go, and we have our aliases set, we can start the stack. Make sure the database is running and the TNS listener is listening.
Note: some common errors that occur during startup are discussed at the very end of this post.
- Start Node Manager
startnm
- Watch the Node Manager log while it’s starting up to make sure there are no errors.
nmlog
- Start WebLogic Admin server
startadmin
- Watch the Node Manager log while it’s starting up to make sure there are no errors.
adminlog
3. Start The Managed Servers Via the WebLogic Admin Console
Once the Node Manager and WebLogic Admin servers are up and running, log into the admin console to start the managed servers. First start SOA and wait until it is confirmed to be up and running before starting OIM. Make sure to tail the logs while each server is starting up in order to catch any errors.
Once all managed servers are up and running, log into the OIM Identity and Sysadmin consoles to verify the installation is functioning properly.
4. Integrate SOA and OIM
Now that we have the stack up and running, we’ll update the OIMSOAIntegrationMBean in order to integrate SOA with our OIM installation.
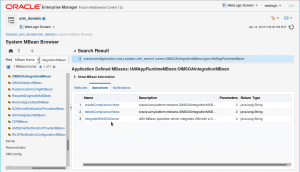
- Log into Enterprise Manager (https://hostname:7001/em)
- Navigate to the System Mbean Browser
- Search for OIMSOAIntegrationMBean
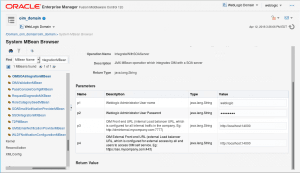
- Under the Operations tab of the MBean, select integrateWithSOAServer
- Enter the required attributes and click Invoke
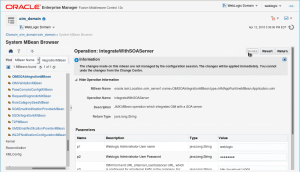
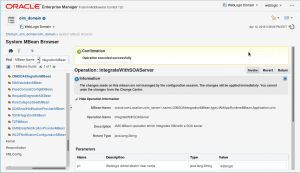
The above process does not require a restart. At this point your OIM 12c installation is good to go, and ready to be customized and integrated with the rest of your systems.
Potential Errors You May See During The Installation Process
There may be OIM startup errors (failure to write to null) if your server is using IPv6. If this is the case in your installation environment, go to the OIM managed server(s) in Admin console. On the Start Server tab, in the Arguments box, add the following argument
-Djava.net.preferIPv4Stack=true
If you get a weblogic LibraryDeploymentException – Cannot register Library “oracle.idm.ipf” with Specification-Version set, because other registered Libraries with the same name do not have Specification-Version set, log into Oracle support and look up Doc ID 2323021.1 (LibraryDeploymentException: Related to oracle.idm.ipf In the Log When Starting OIM After Upgrading to OIM 12.2.1.3)
If you get ADFContext leak detected errors, they can be safely ignored.