

IDMWORKS Step-by-step guide on how to integrate Oracle Identity Governance (OIG) 12cPS3 and Oracle BI Publisher with Oracle 12c
In the 12c PS3 version of OIG, Oracle has removed the BI publisher server from the bundle which was the same case with 11g R2 PS3. Along with OIM and SOA servers, the BI Server is also installed and configured in WebLogic – application server.
Therefore, from 12c PS3, the Oracle BI Publisher has to be installed separately and then, integration has to be performed between the OIG 12c and BI publisher so that the out-of-the-box reports of OIG 12c PS3 can be utilized and enabled for the end users.
Pre-Requisites
Following are the prerequisites for OIG 12c and BI Publisher integration:
- All servers in OIM domains should be up and running.
- Database should be up and running.
- Oracle BI Publisher 12c should be installed on a different VM/server.
- Connection between Oracle BI Publisher and OIG 12c PS3 should be enabled.
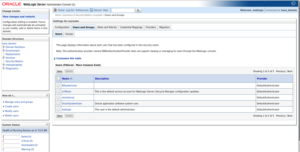
Update the BI Publisher URL in EM Console of OIM Domain
- Login to EM Console of OIM Domain using WebLogic user.
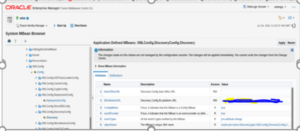
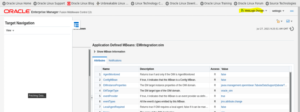
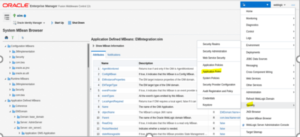
- Open the System MBean Browser of the target OIM Domain and the page below will display.
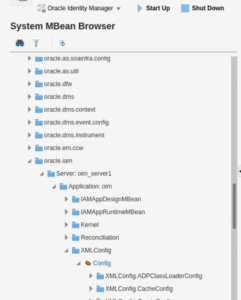
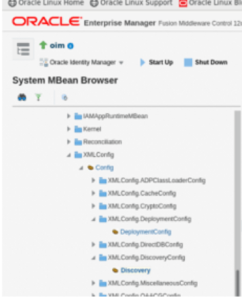
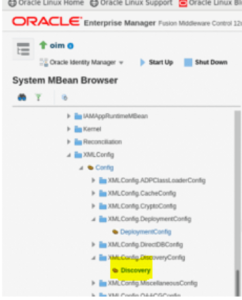
- Search and Open the Application defined MBean named as: XMLConfig.DiscoveryConfig:Discovery.
- Click on the Discover property.
- View the Attributes tab.

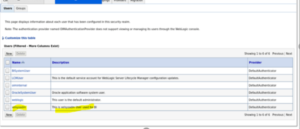
- In the Attributes tab, there is a property named as: BIPublisherURL.
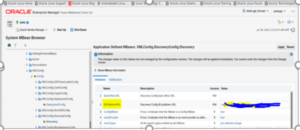
- Provide the value of BI Publisher URL against the property named as: BIPublisherURL. Refer to the screenshot and table as shown below.
| Parameter Name | Parameter Value |
| BIPublisherURL | https://<BI_host_name>:<BI_Port> |
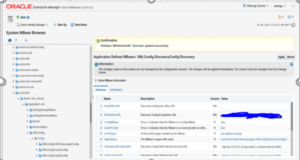
- Once the URL is updated in the property of: BIPublisherURL. Apply the change.

- Once the changes are applied, the page below will display the success message.
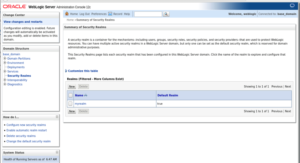
Creation of XELSYSADM User in Security Realms of WebLogic Console in BI Domain
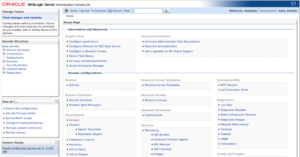
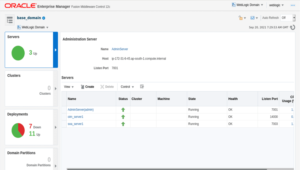
- Login to WebLogic console using WebLogic user of respective OIM Domain.
- The page below will display.
3. Click on “Security Realms”.
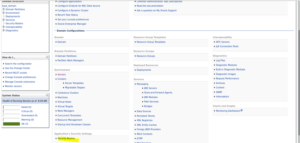
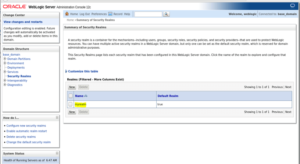
4. The page below will display.
5. Click on myrealm.
6. Once “myrealm” is clicked, the page below will display.
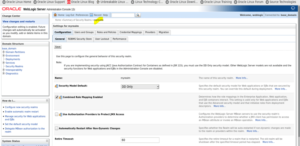
7. Click on the tab named as “Users and Groups”.
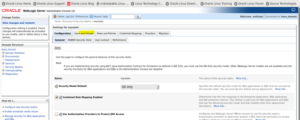
8. Click on Users and Groups tab and the users will display.
9. Click on ‘new’ in order to create a new user named as “xelsysadm”. Using system admin user the reports can then be extracted from BI publisher and the page below will display.
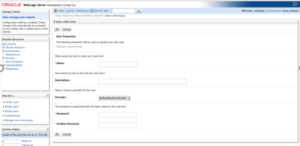
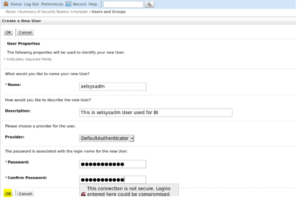
10. Enter the required details for “xelsysadm” user as mentioned in screenshot and table below.
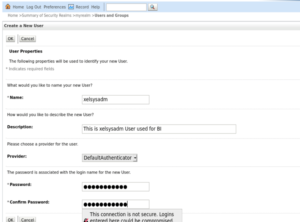
| User Property Name | User Property Value |
| Name | xelsysadm |
| Description | <Enter the description of the user as applicable> |
| Provider | DefaultAuthenticator |
| Password | <password of xelsysadm user in your OIM env.> |
| Confirm Password | <password of xelsysadm user in your OIM env.> |
11. Click on OK.
12. The xelsysadm user will be successfully created in Users and Groups of myrealm.
Assign BIServiceAdministrator Role to XELSYSADM User in EM Console of BI Domain
1. Login to EM Console of respective OIM Domain using WebLogic user.
2. Click on WebLogic Domain dropdown as shown in screenshot below.
3. Click on the dropdown button named “WebLogic Domain”. Click on Security > Application Roles.
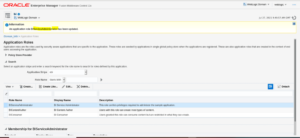
4. The page below will display.
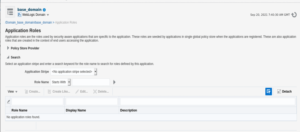
5. Search for BI Roles using the following parameters. Refer to screenshot and table below.
| Parameter Name | Parameter Value |
| Application Stripe | obi |
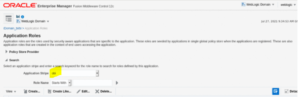
6. The results below will be displayed with the three BI Roles successfully searched.
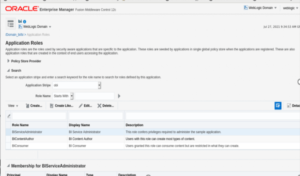
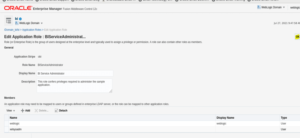
7. Select the “BIServiceAdministrator” role and click on Edit.
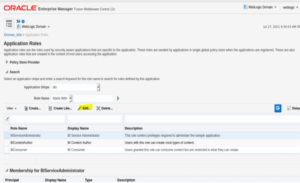
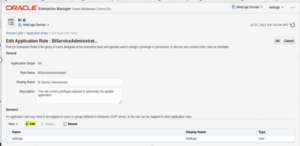
8. The page below will display.
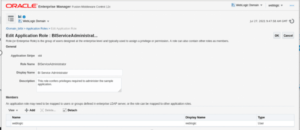
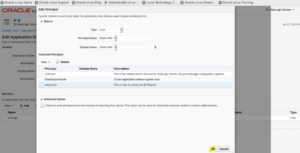
9. Click on Add.
10. The page below will display. Enter the following details as mentioned in table and screenshot below and then click on ‘Search’. The list of all users is required.
| Parameter Name | Parameter Value |
| Type | User |
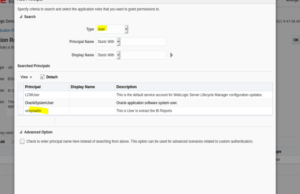
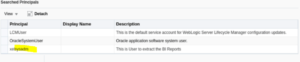
11. Select the xelsysadm user from the list of searched users.
12. Once the “xelsysadm” user has been selected, click on OK to save the changes.
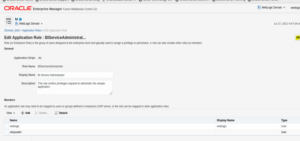
13. The xelsysadm user will be successfully provided the “BIServiceAdministrator” role. Refer to the screenshot below.
14. Click OK.
15. Once you click on OK, the success message below is displayed.
Copy the Out of the Box OIG reports from OIG VM to BI VM
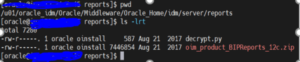
- Login to the VM with OIG 12c installed on using a valid VM user. This example user is a Oracle user NOTE: this example is using Oracle Linux.
- Once logged in, navigate to the location of: $MW_HOME/idm/server/reports/ and the zip file named as: oim_product_BIPReports_12c.zip which contains the out of box OIG 12c BI Reports.
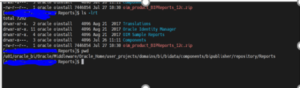
- Copy the above zip file: oim_product_BIPReports_12c.zip containing the out of the box report into the BI VM at the location of: $BI_DOMAIN_HOME/bidata/components/bipublisher/repository/Reports/ and then, unzip the zip file: zip. Once done, the BI VM will look as below.
Login to BI Publisher and give the required permissions to all reports
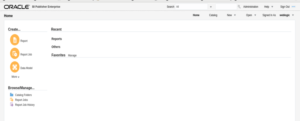
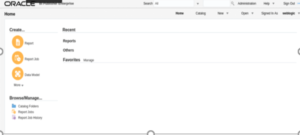
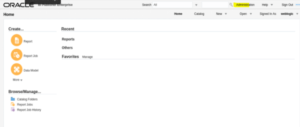
1. Login to BI Publisher using WebLogic user. Example shown is using Oracle BI Publisher 12c.
2. The BI Publisher page will be displayed.
3. Click on Catalog.
4. The page below will display.
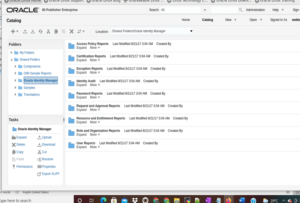
5. Select the folder named “Oracle Identity Manager”. Refer to the screenshot below. The reports available with Oracle Identity Governance 12c version are on the right-hand panel.
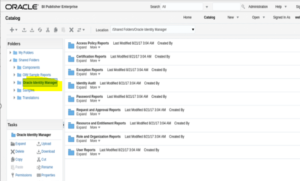
6. Once the folder named “Oracle Identity Manager” is selected, click on Permissions to give valid permissions to the folder for accessing the reports.

7. The popup below will display.
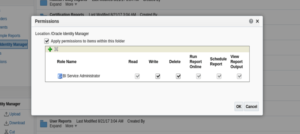
8. Make sure to assign the “BI Service Administrator” role and required access permissions to the Oracle Identity Manager folder so that users with the “BIServiceAdministrator” role will be able to access and extract the report. Refer to the screenshot below.
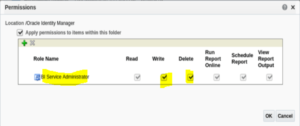
9. Click on OK.
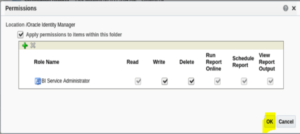
10. The respective role and access permissions will now be successfully applied to the “Oracle Identity Manager” folder.
Configure JDBC Data source in BI Publisher for OIG Reports
1. Login to Oracle BI Publisher using WebLogic user and the home page below will display.
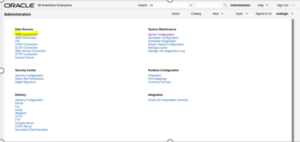
2. Click on Administrator.
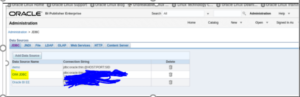
3. Click on JDBC Connection.
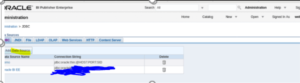
4. The page below will display.
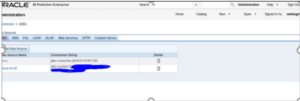
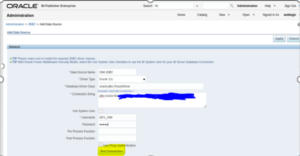
5. Click on “Add Data Source” button as shown in screenshot below.
6. The page below will display. Enter all required parameters to setup the JDBC connections from BI to OIG as per screenshot and table below. Note, that the parameters would change as per each environment.
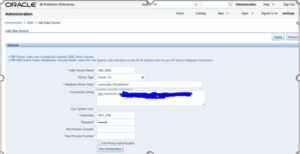
| Parameter Name | Parameter Value |
| Data Source Name | OIM JDBC |
| Driver Type | <This would differ as per database you are using. Select the option accordingly from the drop down>. In this case, we are using Oracle 12c Database. Hence, we are selecting: Oracle 12c. |
| Database Driver Class | Mention the driver class as per your database setup. In this case, we are using Oracle database. Therefore, the value is: oracle.jdbc.OracleDriver |
| Connection String | Jdbc:oracle:thin:@<hostname of DB machine>:<DB Port>:Service_Name |
| Username | Username of OIM Schema |
| Password | Password of OIM Schema |
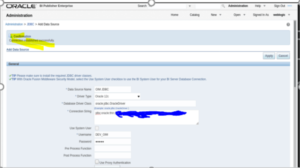
7. Once all the required parameters are provided, click on Test Connection.
8. If all the parameters are correct, then the connection will be successful. Refer to the screenshot below.
9. Once the test connections are successful. Click on Apply to apply the changes.
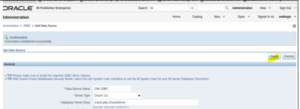
10. The JDBC Connection to connect with OIM DB will be successfully configured in Oracle BI Publisher.
Validation of Reports from OIG – Self Service Console
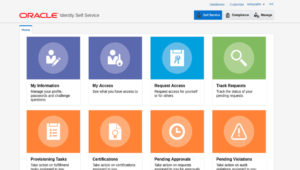
1. Login to OIG – Identity Self Service Console as “xelsysadm” user.
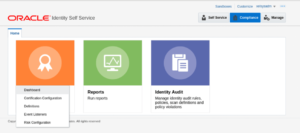
2. Click on the Compliance Button.
3. The page below will display.

4. Click on identity Certification Tile and the options below will display.
5. Click on “Dashboard”.
6. The page below will display.

7. Select any one Certification campaign from the list as shown.
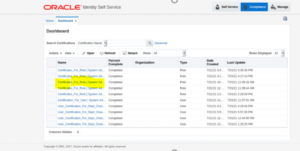
8. Click on one Certification campaign as highlighted in screenshot above.
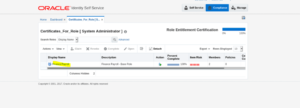
9. Click on the respective entity of Certification campaign as highlighted in screenshot below.

10 Make sure that respective entity is selected, and then click on the Export dropdown. Refer to the screenshot below.
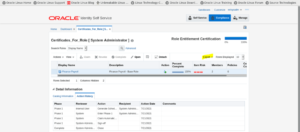
11. Click on the “Export” dropdown and the options below will display. To generate the report select either export ‘To Excel’ or ‘ To PDF’. For this example, the PDF report is selected.
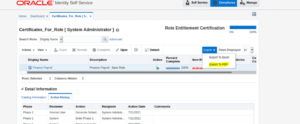
12. Click on the “Export to PDF” option, the respective PDF report of Certification campaign will be generated from BI publisher which you have configured in OIG. Refer to the screenshot below.
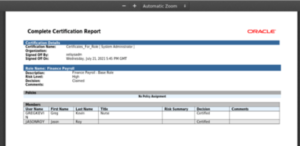
13. If the report is generated successfully as shown in the screenshot above, it signifies that OIG – BI integration is a success. Congratulations!
Known Issues
Issue # 1: The Out-of-the-Box OIG reports are not getting generated in OBIEE
Issue Details
- This is a known issue, and as per Oracle, OOTB OIG 12c reports cannot be generated on OBIEE which means OBIEE is not compatible with Out-of-the-Box OIG reports. It’s also mentioned in the Oracle documentation – refer to the following Oracle document:
Resolution:
- Oracle BI Publisher must be installed to access the Out-of-the-Box OIG reports. OBIEE is not certified or supported to access OIG 12c reports.